 Skip to content
Introduction
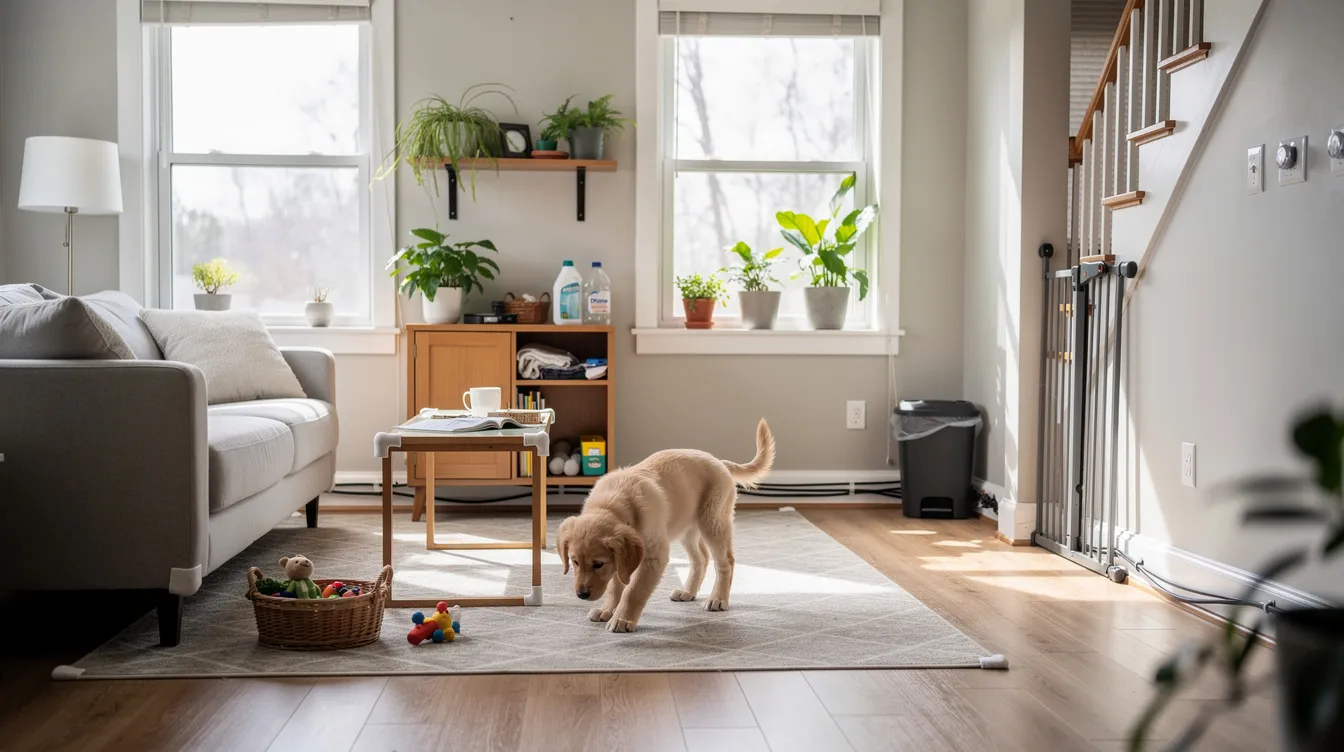
Puppy proofing your house means systematically identifying and eliminating every potential hazard that could injure your new puppy or destroy your belongings. If you’re bringing home a pup between 8 weeks and 6 months old, your home is full of dangers you’ve never noticed-loose electrical cords, toxic plants, medications on nightstands, and dozens of small objects that look like fair game to a curious puppy exploring the world mouth-first.
This guide covers indoor and outdoor puppy proofing for new dog owners in Northern Virginia who want to create a safe environment before their new family member arrives. It does not cover advanced behavioral training, but it does connect safety preparation to the foundational habits that help you raise a well-behaved dream dog. Why does this matter? Because puppy proofing prevents emergency vet visits, protects your furniture, shoes, and valuables, and builds the kind of structured space where training actually works.
The direct answer: effective puppy proofing requires three actions-securing hazardous items behind locks and barriers, blocking access to dangerous areas with gates and covers, and removing tempting objects from your puppy’s reach before they become chewing hazards.
Here’s what you’ll gain from this guide:
- A clear understanding of why puppies get into trouble and how risks shift as they grow
- A systematic remove-secure-redirect framework you can apply to any room
- Room-by-room numbered checklists for kitchen, living areas, bathroom, bedroom, and yard
- Solutions to the five most common puppy proofing mistakes new owners make
- Actionable next steps and resources to keep your pup safe long-term
Understanding Puppy Behavior and Safety Needs
Before you start rearranging cabinets and buying baby gates, you need to understand why puppies are so determined to get into everything. Effective puppy proofing isn’t about guessing-it’s about anticipating what your puppy will do based on well-documented behavior patterns and developmental stages.
Natural Puppy Exploration Patterns
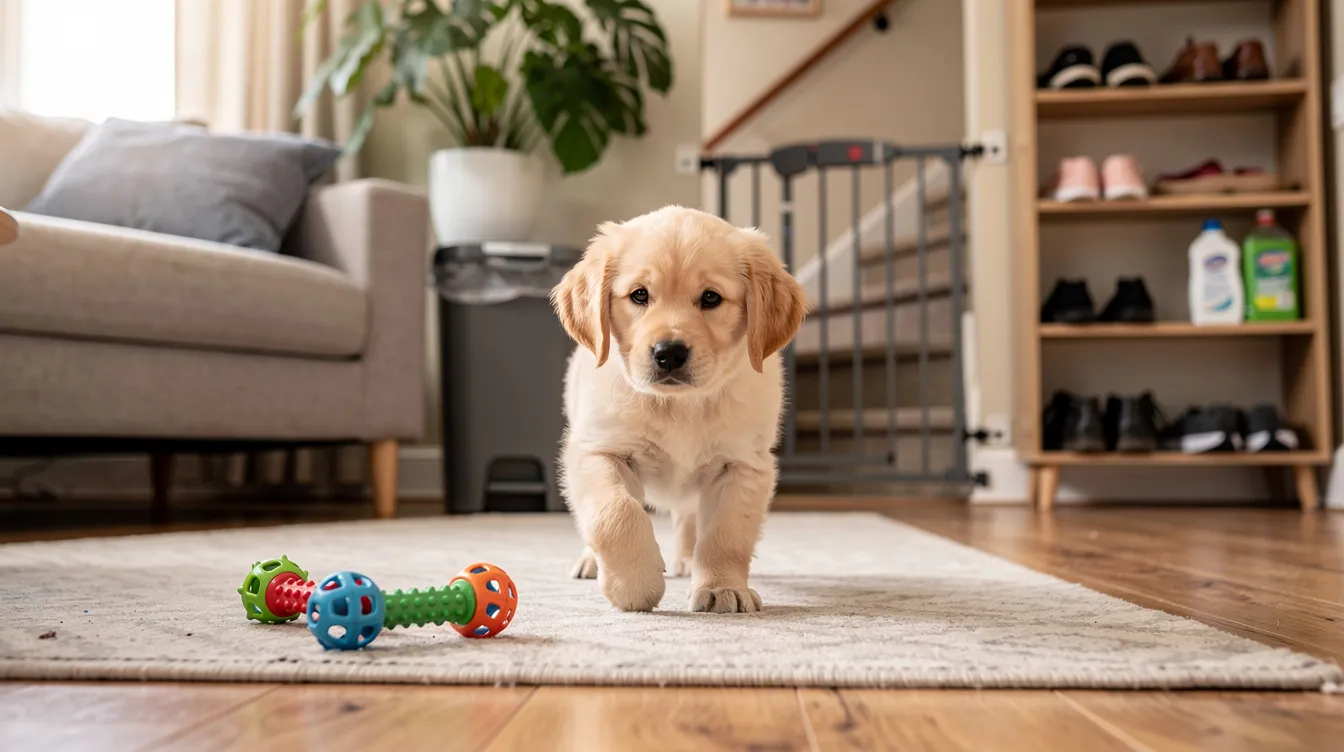
Puppies investigate the world primarily through their mouth. From about 8 weeks onward, teething drives them to chew, lick, and gnaw on anything they can reach. If it fits in their mouth, they’ll try to eat it. Socks, hair ties, coins, rubber bands-all of it is a target.
Beyond chewing, a curious puppy explores through smell, touch, and sheer physical boldness. They squeeze into tight spaces, climb onto low tables, poke their noses behind furniture, and tug on anything dangling. Puppies can suffocate if stuck under furniture or in small spaces, which means their fearless curiosity creates real danger in environments designed for humans. Motor coordination is still developing, so wobbly, soft, or small objects are especially attractive-and especially risky.
Common Hazard Categories
The hazards your puppy faces fall into four main categories:
Toxic ingestion risks are the most serious. Nearly 50% of pet poisoning cases involve human medication-pills dropped on the floor or stored in low cabinets. Toxic foods for dogs include chocolate, grapes, onions, and xylitol. Cleaning supplies, rodenticides, and many human foods can cause organ failure or death in small doses.
Choking hazards are everywhere at floor level. Puppies can choke on large objects or ingest foreign bodies. Remove small choking hazards like coins and toys from floors. Items like buttons, wrappers, and children’s toys get swallowed before the puppy even chews them.
Electrical dangers arise because puppies treat cords like chew toys. Electrical cords can cause mouth burns or electrocution in puppies. Loose electrical cords behind entertainment centers or along baseboards are particularly tempting.
Fall and crush risks include open stairs, gaps under furniture, heavy items that can topple, and loose rugs. A puppy’s lack of coordination makes these hazards more dangerous than you’d expect.
Developmental Stages and Risk Changes
Your puppy’s risk profile changes significantly as they grow, which is why puppy-proofing is a continual process as puppies grow and can reach new areas:
- 8–12 weeks: This is the first fear period. Puppies are impressionable and begin teething. Mobility increases rapidly, and the risk of poisoning from ingestion spikes because everything goes in the mouth.
- 3–4 months (12–16 weeks): Confidence and independence grow. Permanent teeth start breaking in, intensifying chewing. Your pup’s ability to jump and climb increases, meaning hazards that were previously out of reach become accessible.
- 4–6 months: Physical growth accelerates. Your puppy gets stronger, tests boundaries, and can breach barriers that worked weeks ago. Barrier heights, gate stability, and accessible surfaces all need reassessment.
This progression means puppy proofing your home is never a one-time project. What kept your 10-week-old safe will be entirely insufficient for a 5-month-old Labrador. With that understanding of behavior in place, let’s translate it into a practical safety framework.
Essential Puppy Proofing Principles
Now that you understand how puppies explore and how their capabilities change, you can apply a systematic approach to making your house safe rather than reacting to problems after they happen.
The Three-Level Safety Approach
The most effective puppy proofing tips follow a layered strategy: remove, secure, redirect.
Remove hazards entirely when possible. Take toxic plants out of the house. Pick up coins, hair ties, and small objects from the floor. Move medications to high shelves. If it doesn’t need to be accessible, get it out of your puppy’s world.
Secure what you can’t remove. Lock cabinets with childproof latches. Use cord covers on electrical wiring. Install baby gates or playpens to restrict access to unsafe areas. Secure trash cans with locking lids to prevent scavenging.
Redirect your puppy’s energy to safe alternatives. Redirect your puppy’s chewing to approved toys and durable chew toys. Teach commands like “leave it” and “drop it.” Use bitter apple spray to deter chewing on furniture. Monitor your puppy to redirect chewing immediately when they target something off-limits.
Each level backs up the others. If your pup bypasses a secured cabinet, the toxic item was already removed. If they ignore the redirect, the physical barrier stops them. Redundancy is the point.
Priority Assessment by Room
Not every room carries equal risk. Kitchens and bathrooms have the highest concentration of chemicals, toxic food, and water hazards. Living areas present electrical cord and furniture risks. Bedrooms contain small objects and clothing that become chewing hazards. Outdoor spaces carry escape risks and exposure to poisonous plants.
Start your puppy proofing with the highest-risk rooms-kitchen, bathroom, utility room-then move to living areas, bedrooms, and finally outdoor spaces. Also factor in where your puppy will spend the most time. A room you use constantly deserves more attention than a guest bedroom behind a closed door.
Age-Appropriate Modifications
As your puppy grows, their reach increases, their jaw strength improves, and their jumping ability develops. A baby gate that contained a 10-pound puppy won’t stop a 40-pound adolescent dog. Cord covers that deterred a gentle explorer won’t survive a determined teething phase.
Plan to reassess your setup monthly. Adjust barrier heights, re-evaluate what’s within your puppy’s reach, and upgrade locks or covers as needed. Breed size matters significantly-a 6-month-old Great Dane operates in a completely different danger zone than a 6-month-old Pomeranian.
With these principles established, let’s walk through every room in your house with specific, numbered steps.
Room-by-Room Puppy Proofing Implementation
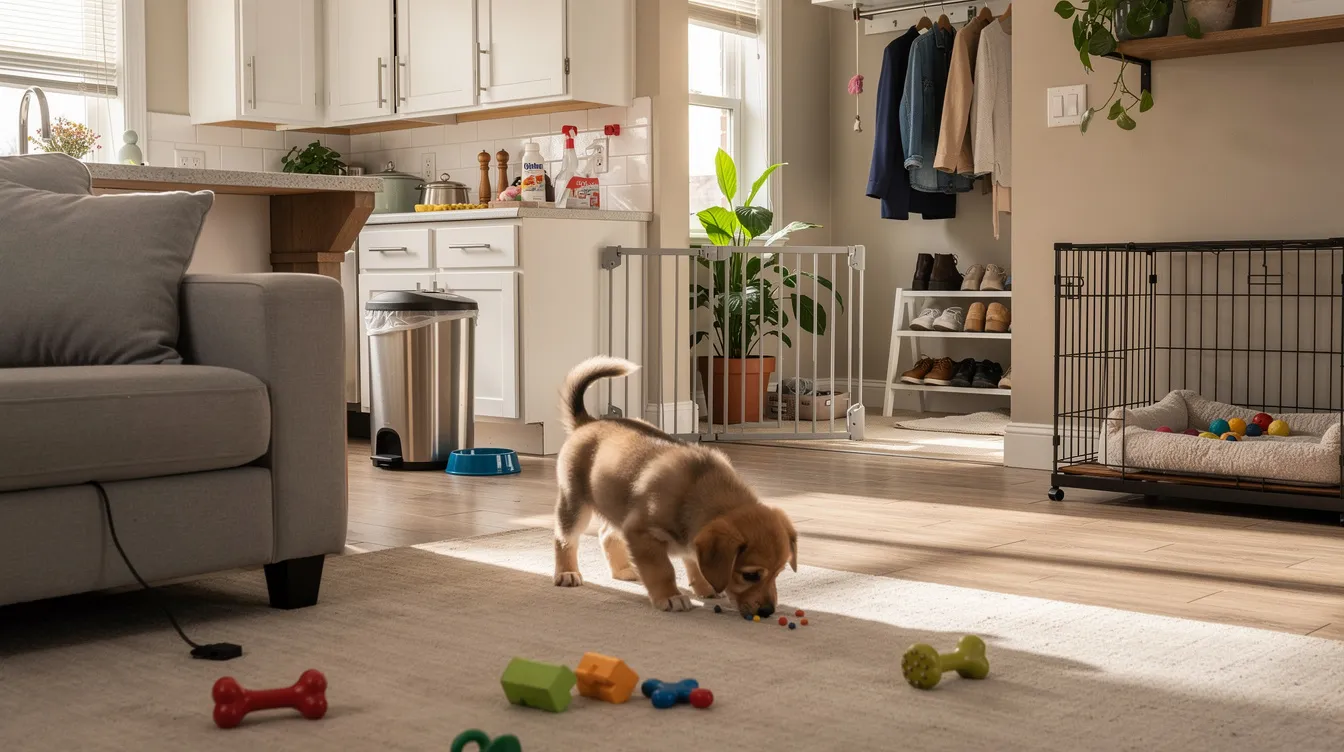
Applying safety principles systematically means working through each room with a clear protocol. The following numbered steps give you a concrete checklist for every space in your home.
Kitchen Safety Protocol
The kitchen is typically the highest-risk room in any house. It concentrates toxic foods, sharp objects, chemicals, hot surfaces, and garbage in one heavily trafficked area. Pay special attention here.
- Secure all cabinets with childproof locks. Secure cabinets with childproof locks to prevent access-especially lower cabinets storing cleaning supplies, dishwasher detergent, and oven cleaner. Lock away toxic chemicals and foods to prevent puppy access.
- Install trash can locks or use covered containers. Your garbage contains chocolate wrappers, onion scraps, bones, and foil that can cause obstruction or poisoning. A covered, locking trash can is non-negotiable.
- Remove toxic foods from lower shelves. Keep human food out of reach to avoid toxicity. Store all food-including sealed containers that smell enticing-above counter height. Remember, many human foods are dangerous for dogs.
- Secure cleaning supplies in upper cabinets or locked storage. Don’t rely on a puppy ignoring a bottle of bleach under the sink. Move all supplies up or lock them down.
- Cover or block access to appliances. Use stove guards, remove accessible knobs, and prevent your pup from opening the dishwasher. Keep small appliance cords tied up and unplugged when not in use to avoid electrical shock.
Living Area Protection
Your living areas are where the family gathers and where your puppy will likely spend the most time. Furniture, electronics, plants, and stairs all need attention.
- Secure electrical cords with covers or cord organizers. Use protective cord covers for electrical wires and cables. This includes chargers, lamp cords, TV wiring, and decorative string lights. Loose electrical cords are one of the most common hazards in living areas.
- Remove or elevate toxic houseplants. Remove toxic houseplants to prevent poisoning risks. Common houseplants like lilies and pothos can be toxic to dogs. Toxic houseplants can cause serious health issues for dogs, ranging from gastrointestinal upset to organ failure. Consult the ASPCA toxic plant database and replace poisonous plants with pet-safe alternatives.
- Install baby gates for stairs. Block off access to stairs using secure gates. Install pet gates to block access to stairs and to limit entry to rooms that aren’t fully puppy-proofed. Choose gates tall enough that your growing pup can’t jump over them.
- Apply furniture protectant spray to wooden items. Use bitter apple spray to deter chewing on furniture legs, baseboards, and wooden surfaces. Cover table corners if they’re at your puppy’s head height.
- Secure remote controls and small electronics. Anything on low tables or coffee tables is fair game. Store remotes, books, magazines, and small objects out of reach.
Bathroom Hazard Control
Bathrooms pack a dense concentration of medications, chemicals, and water hazards into a small room. Keep bathroom doors closed as a default, and implement these steps for the times your pup gets in.
- Lock medicine cabinets and move all medications to high shelves. Keep medications stored out of a puppy’s reach to avoid poisoning. This includes over-the-counter pills left on counters-a common cause of pet emergencies.
- Install toilet seat locks. Always keep lids closed. Puppies can drown in toilets or ingest toilet-cleaning chemical tablets. Toilet seat locks add a critical layer of protection.
- Secure toilet paper and bathroom tissue. Toilet paper is irresistible to most puppies and creates both a mess and an intestinal obstruction risk if swallowed in quantity.
- Use covered bathroom trash cans. Bathroom garbage contains cotton swabs, dental floss, hygiene products, and other items that cause serious obstructions when swallowed.
- Remove bath mats and towels from floor level. These become chew targets and tangle risks. Clean up water spills immediately and block access to the bathtub when it contains water.
Bedroom and Sleeping Area Setup
Bedrooms are where your puppy may spend unsupervised time resting or sleeping. Every gap, dangling cord, and loose item becomes a potential hazard.
- Block gaps between furniture with cardboard or foam. Puppies squeeze into tight spaces and get stuck. Seal gaps behind dressers, under beds, and between furniture pieces.
- Elevate all laundry to hampers or high surfaces. Socks, underwear, and clothing items are among the most commonly swallowed objects. Use hampers with lids.
- Store shoes in closed closets. Shoes are high-value chewing targets that also carry bacteria and small parts. Keep closet doors shut.
- Secure loose clothing items and accessories. Belts, scarves, jewelry, and hair ties all pose choking or strangulation risks. Desktop items like pens that fall from surfaces are also dangerous.
- Set up a puppy safe sleeping area with an appropriate crate or bed. Crate training can help manage chewing behavior and provides a safe space for your puppy to rest securely. The crate should be large enough for your pup to turn around and lie stretched out, with chew-safe, breathable bedding.
Outdoor Space Security
Your yard presents escape risks, toxic exposure, and water hazards. Supervise outdoor time closely with young puppies and implement these permanent safeguards.
- Inspect and repair fence gaps or holes. Confirm the yard is contained with no holes in the fence. Even small gaps can allow a determined puppy to squeeze through.
- Secure all gates with puppy-proof latches. Regularly maintain gates and latches to ensure security. Self-latching, lockable hardware prevents escapes when visitors forget to close gates.
- Remove toxic plants and landscaping chemicals. Remove poisonous plants from your yard to protect puppies. Switch to pet-safe, organic lawn care products and non-toxic mulch varieties.
- Install pool barriers or covers. Fence pools and ponds to prevent puppy accidents. Puppies can drown quickly and quietly. Physical barriers are essential regardless of your puppy’s swimming ability.
- Create a designated potty area away from garden beds. This reduces your pup’s exposure to fertilizers, mulch, and digging temptations. Pick up pet waste to prevent health risks for puppies and keep the area clean for ongoing potty training.
Risk Assessment Comparison
| Room Type | Primary Hazards | Time Investment | Supervision Level |
|---|---|---|---|
| Kitchen | Toxic foods, chemicals, sharp objects | 2–3 hours initial setup | Constant supervision required |
| Living Areas | Electrical cords, houseplants, stairs | 1–2 hours initial setup | Moderate supervision needed |
| Bathrooms | Medications, cleaning supplies, water | 1 hour initial setup | High supervision when accessible |
| Bedrooms | Small objects, clothing, tight spaces | 30–45 minutes per room | Low supervision after setup |
| Outdoor Areas | Escape routes, toxic plants, pools | 3–4 hours initial setup | Constant supervision required |
Use this table to prioritize your puppy proofing efforts based on your home layout and your puppy’s current developmental stage. Tackle the kitchen and outdoor areas first if time is limited, then work through the remaining rooms before your new puppy arrives.
With your rooms secured, let’s address the mistakes that trip up even well-prepared owners.
Common Puppy Proofing Mistakes and Solutions
Even thorough preparation leaves gaps if you don’t account for these five frequently overlooked problems. Learning from typical oversights prevents accidents and property damage.
Underestimating Puppy Reach and Jumping Ability
What your pup can’t reach today, they’ll reach in two weeks. Monitoring a puppy requires thorough inspection of environments at their level-puppy-proofing involves preventing access to hazards at a puppy’s eye level. Get down on your hands and knees and look around. You’ll spot dangling cords, low-shelf items, and accessible gaps you missed from standing height. Use breed growth charts to anticipate how quickly your puppy’s reach will expand, and adjust counter heights and shelf placement proactively.
Incomplete Electrical Cord Management
Most owners protect the obvious cords-the TV, the lamp-but forget about cords behind furniture, along baseboards, or from seasonal LED decorations. Use heavy-duty conduit or cord protectors for all exposed wiring, not just visible hazards. Check behind every piece of furniture and every appliance. Unplug electronics when not in use. A single overlooked cord can cause electrical shock or serious mouth burns.
Forgetting Seasonal Hazard Changes
Your home’s hazard profile shifts with the seasons. Holiday decorations bring tinsel, fragile ornaments, and extra wiring. Summer opens the pool and introduces lawn chemicals. Winter road salt is toxic, and indoor fireplaces add new dangers. Reassess your puppy proofing monthly and watch for seasonal additions that weren’t part of your original setup.
Inadequate Visitor Preparation
Guests are one of the biggest blind spots in puppy proofing. Visitors leave purses on the floor with medications inside, drop food scraps, prop doors open, and offer treats without asking. Create a quick visitor checklist: put purses up high, keep doors and gates closed, and educate guests about not feeding the puppy. Teaching your dog to wait at doors adds another layer of safety during visits.
Overlooking Gradual Puppy Growth
Patience is key in training puppies to stop chewing, and the same patience applies to keeping up with their physical development. The barriers, locks, and placements that worked at 10 weeks may fail at 20 weeks as your puppy’s strength and agility increase. Schedule a monthly reassessment of barrier heights, accessible areas, and hazard placement. Upgrade equipment as needed-this is an ongoing commitment, not a one-time project.
Conclusion and Next Steps
Effective puppy proofing combines understanding your puppy’s natural behavior with systematic hazard elimination across every room in your house and yard. No single lock, gate, or spray solves everything. The remove-secure-redirect framework, applied room by room and updated as your puppy grows, gives your new family member the safe environment they need to learn, play, and develop into a well-behaved dog.
Your immediate next steps:
- Complete a room-by-room safety assessment using the checklists above, starting with your kitchen and outdoor areas.
- Purchase and install necessary safety equipment-childproof latches, cord covers, baby gates, covered trash cans, and crate-within one week.
- Schedule a follow-up safety review in 4–6 weeks to account for your puppy’s growth and any missed hazards.
If you’re in Northern Virginia and want personalized guidance that goes beyond basic puppy proofing, Off Leash K9 Training of Sterling offers puppy obedience training that pairs environmental safety with foundational behavior training. Building good behavior and a safe space work together-one without the other leaves gaps.
For related topics, explore crate training as a lifelong skill for safe confinement, basic puppy obedience for teaching safety commands like “leave it” and “drop it,” and establishing household routines that give your pup structure from day one.
Additional Resources
- ASPCA Animal Poison Control Center: Call (888) 426-4435 for emergency poisoning guidance. Their toxic plant list is the definitive resource for identifying poisonous plants in your home and yard.
- Puppy-proofing supply checklist: Childproof cabinet locks, outlet covers, cord protectors, baby gates (minimum 2), covered trash cans, locking toilet seat latches, bitter apple spray, and an appropriately sized crate with chew-proof bedding.
- Recommended products are available at local Northern Virginia pet supply stores and major retailers. Look for items specifically labeled pet-safe.
- Free phone consultation: Off Leash K9 Training of Sterling offers complimentary phone consultations for personalized puppy safety and training guidance tailored to your home, breed, and lifestyle. Providing the best care for your puppy starts with the right support.
